The Learning Paths page
Go to the Learning Paths menu item in your portal. You’ll see two tabs:
-
Learning Paths: An overview of all learning paths created in your organization.
-
Available Courses: All courses you can add to a learning path.

Don't see 'Learning Paths' in the Portal menu? Your organizatis is using 'Courses as the structure. For more information on those, please refer to here.
Available courses
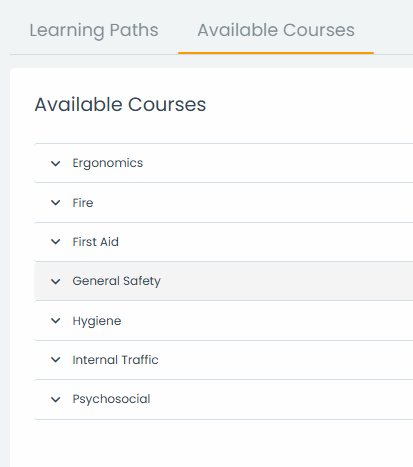
In the Available Courses tab, you’ll find a full list of all courses available in your organization. Click the small arrow next to a category name to expand the list of courses.
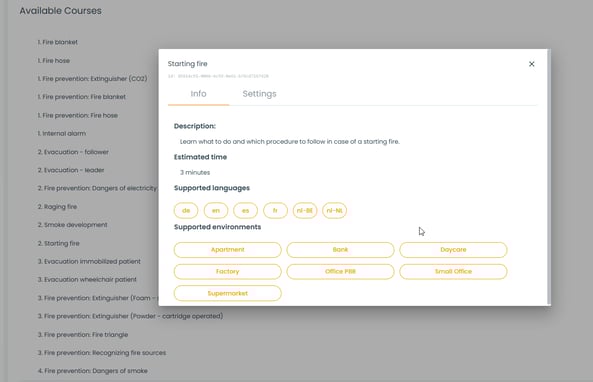
Click a course name to view more details, such as:
-
Course description
-
Estimated duration
-
Available languages
-
Available environments
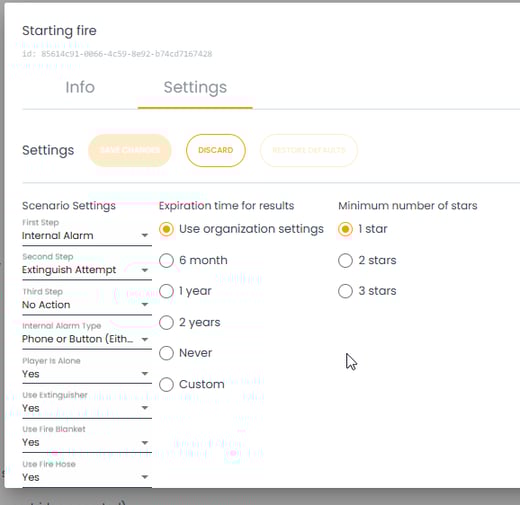
You can modify course settings by clicking the Edit button. Made changes in the past? Use Restore default settings to revert to the original configuration. Don’t forget to Save to confirm.
Create a new learning path
Go to the Learning Paths tab and click the orange + Create Learning Path button to add a new path. A pop-up window will open with two tabs:
General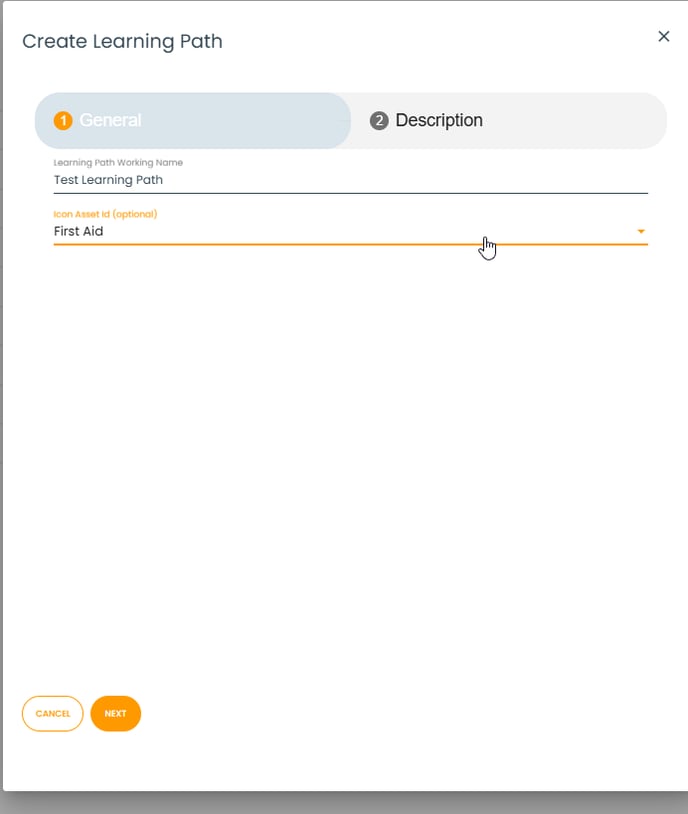
-
Internal name: This is the name you’ll see in the portal.
-
Choose an icon that best fits the learning path.
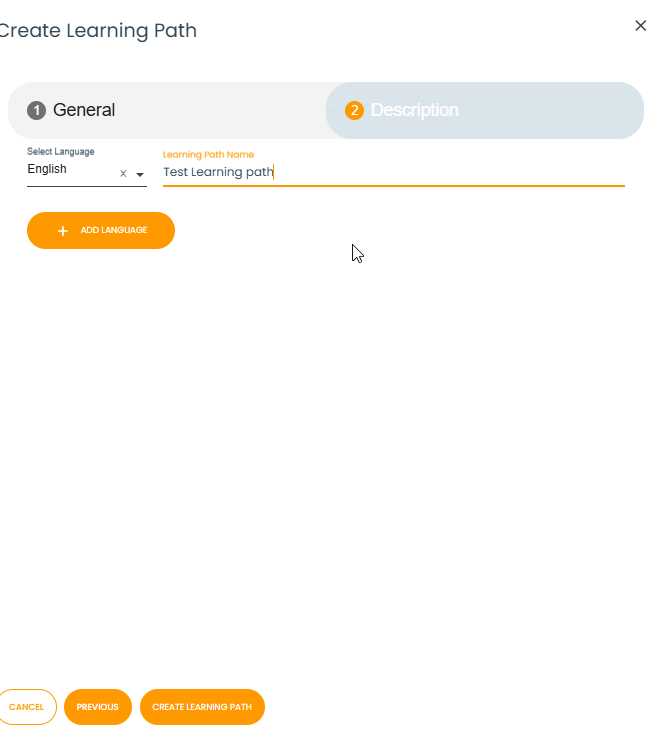
Description
-
Display name: This is the name users will see inside the game.
-
It’s important to add a description in every language your users play the game in. Add the necessary languages.
Done? Click Create Learning Path at the bottom of the window.
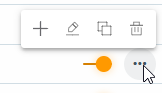
Managing and editing learning paths
In the Learning Paths tab, you can manage existing paths. Click the ⋯ menu next to a learning path for the following options:
-
Create module: Add a course to the path
-
Edit: Change the title, description, or contents
-
Copy: Make a copy of the path
-
Delete: Permanently remove the path
Use the toggle switch to make a learning path available or unavailable in the portal.
NOTE: This only enables or disables the path, it does not assign it to any group. You must assign the path to a group before users can access it.
Assign learning paths to groups
A learning path only becomes visible to users after it’s assigned to a group:
-
Select the desired learning path.
-
Click the + icon next to the group name.
-
Click Link to confirm.
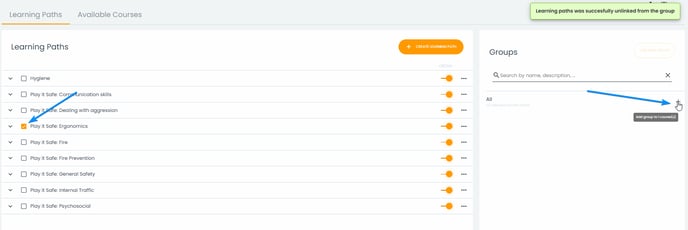

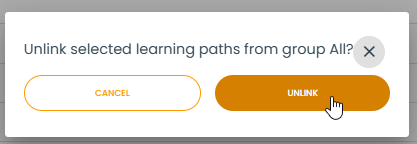
To unlink a path from a group, select the path, click the – icon next to the group, and confirm with Unlink.